The Roof
- David Fleet
- Jun 4, 2024
- 3 min read
Updated: Dec 19, 2024
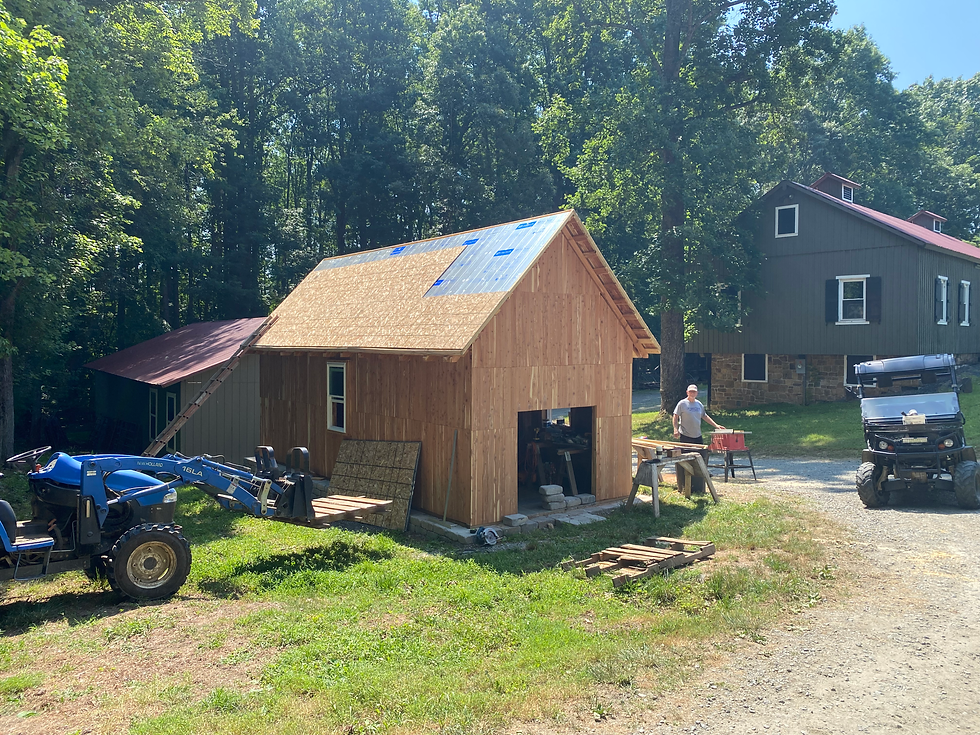
To get the bothy safely dry we needed to put the plywood on the roof and then cover it with roof felt. The slate shingles would be done later, as the ply and paper was enough to ensure the bothy wasn't exposed to the elements.
We used a slightly unconventional method to get the plywood up to the roof, one that I wouldn't recommend but under the circumstances was necessary. They were fairly heavy sheets, so instead of manually carrying them up we created a platform on the front end loader of the tractor and moved them up that way. It surely is not an OSHA approved method, but it accomplished what we needed for the small but heavy task at hand, and was probably safer than trying to carry the ply up on ladders or scaffolding. Probably....

Having John on the controls of the tractor was pretty important here, as a steady and experienced hand was necessary. You wouldn't want to tilt down when you meant to go up.


Once a ply sheet was in place, we secured it down using 4 inch screws into the rafters and through the battens. This locked in things nicely and also helped to further stiffen the overall structure. There was a lot of up and down on the ladders to put all the screws in place.

At the apex of the roof we joined up the plywood from both sides, luckily things were mostly in square and aligned, we needed to do a few adjustments but nothing too major. Balancing on a 12 12 pitch while measuring, lifting, and working with only a toehold stopping me from falling reminded me just how terrible a rock climber I would be. Thankfully I never saw the point of that sport, but they are incredible athletes, I'll give them that.

An end of day shot below, just to take the edge off.

And a couple more of the plywood all installed, and our Bad Boy Buggies lined up nicely in the foreground for the first shot.


The next step was to install the roof felt over the plywood. I didn't get a lot of shots of us doing this, it was actually a really hot day as I recall and we were just trying to get through it quickly. John unrolled the roof felt and cut it to length. Each length went down to the eave on one side and then overhung the apex of the roof by a couple feet on the other. One side of the felt is adhesive and covered. I would go up to the apex and unroll the length of the cut roll to John who was on the ladder at the eave. We would then secure a small exposed strip of the adhesive underside in place where it was aligned to the previous piece (ie overlapping), then peel off the rest of the plastic coating on the underside, and secure the entire felt length in place. Then we would smooth it to ensure it took properly to the surface. It was hot work that took more than a bit of balancing and coordination between two people both with limited ability to move given our positions, but we got into a rhythm pretty quickly and tore though it. In the end the roof looked nice and sealed, and the sun had no problem baking on the felt to the plywood through the chemical reaction of the adhesive.


Comments